Canvas - Assignment Process and Tips
![]()
Lesson Abstact
Canvas can be a confusng website/program to work with. It being web-based tends to leave it to a lot of mishaps; especially when it comes to submitting an assignments. We will discuss the different ways of trouleshooting your assignment before you upload them, different ways of uploading assgnments to Canvas, and tips of how you can troubleshoot AFTER you upload an assignment. We will also be discussing the differences between the Mobile and Desktop versions of Canvas, and the implications of what that could mean to your formatting of your assignment.
Lesson Objectives/Outcomes
- Uploading assignments through your Files tab, disscusion boards, and your Inbox tab.
- Previewing your assignment the way your teacher will see it.
- Opening discussion of polite and appropriate etiquette when conversing with your proffesors.
- Adding attachments to messages.
- How to access the STAT and Writing Center Teams on Canvas.
- Learning the differences of the Desktop from the Mobile versions of Canvas.
Materials
- Personal Computer
- Optional: Smart Phone
Overview
Lesson Steps/Components
Using Canvas via Mobile Devices
This section will explain the same things as the above instructions, but for the mobile APP for Canvas. This app is available on both Android and iPhone devices. If you do not yet have this APP and need help installing it click HERE for that tutorial.
Uploading files via the Canvas APP
There is a file storage area in the Canvas app that acts as a hub for you to use to turn in files from. This will explain how to upload files from your phone to this area so that you can then turn them in to your classes.
When you first open your Canvas app, you will be greeted by this screen.

To get to the menu we want, select the three bars in the top left hand corner by tapping on it once with your finger.

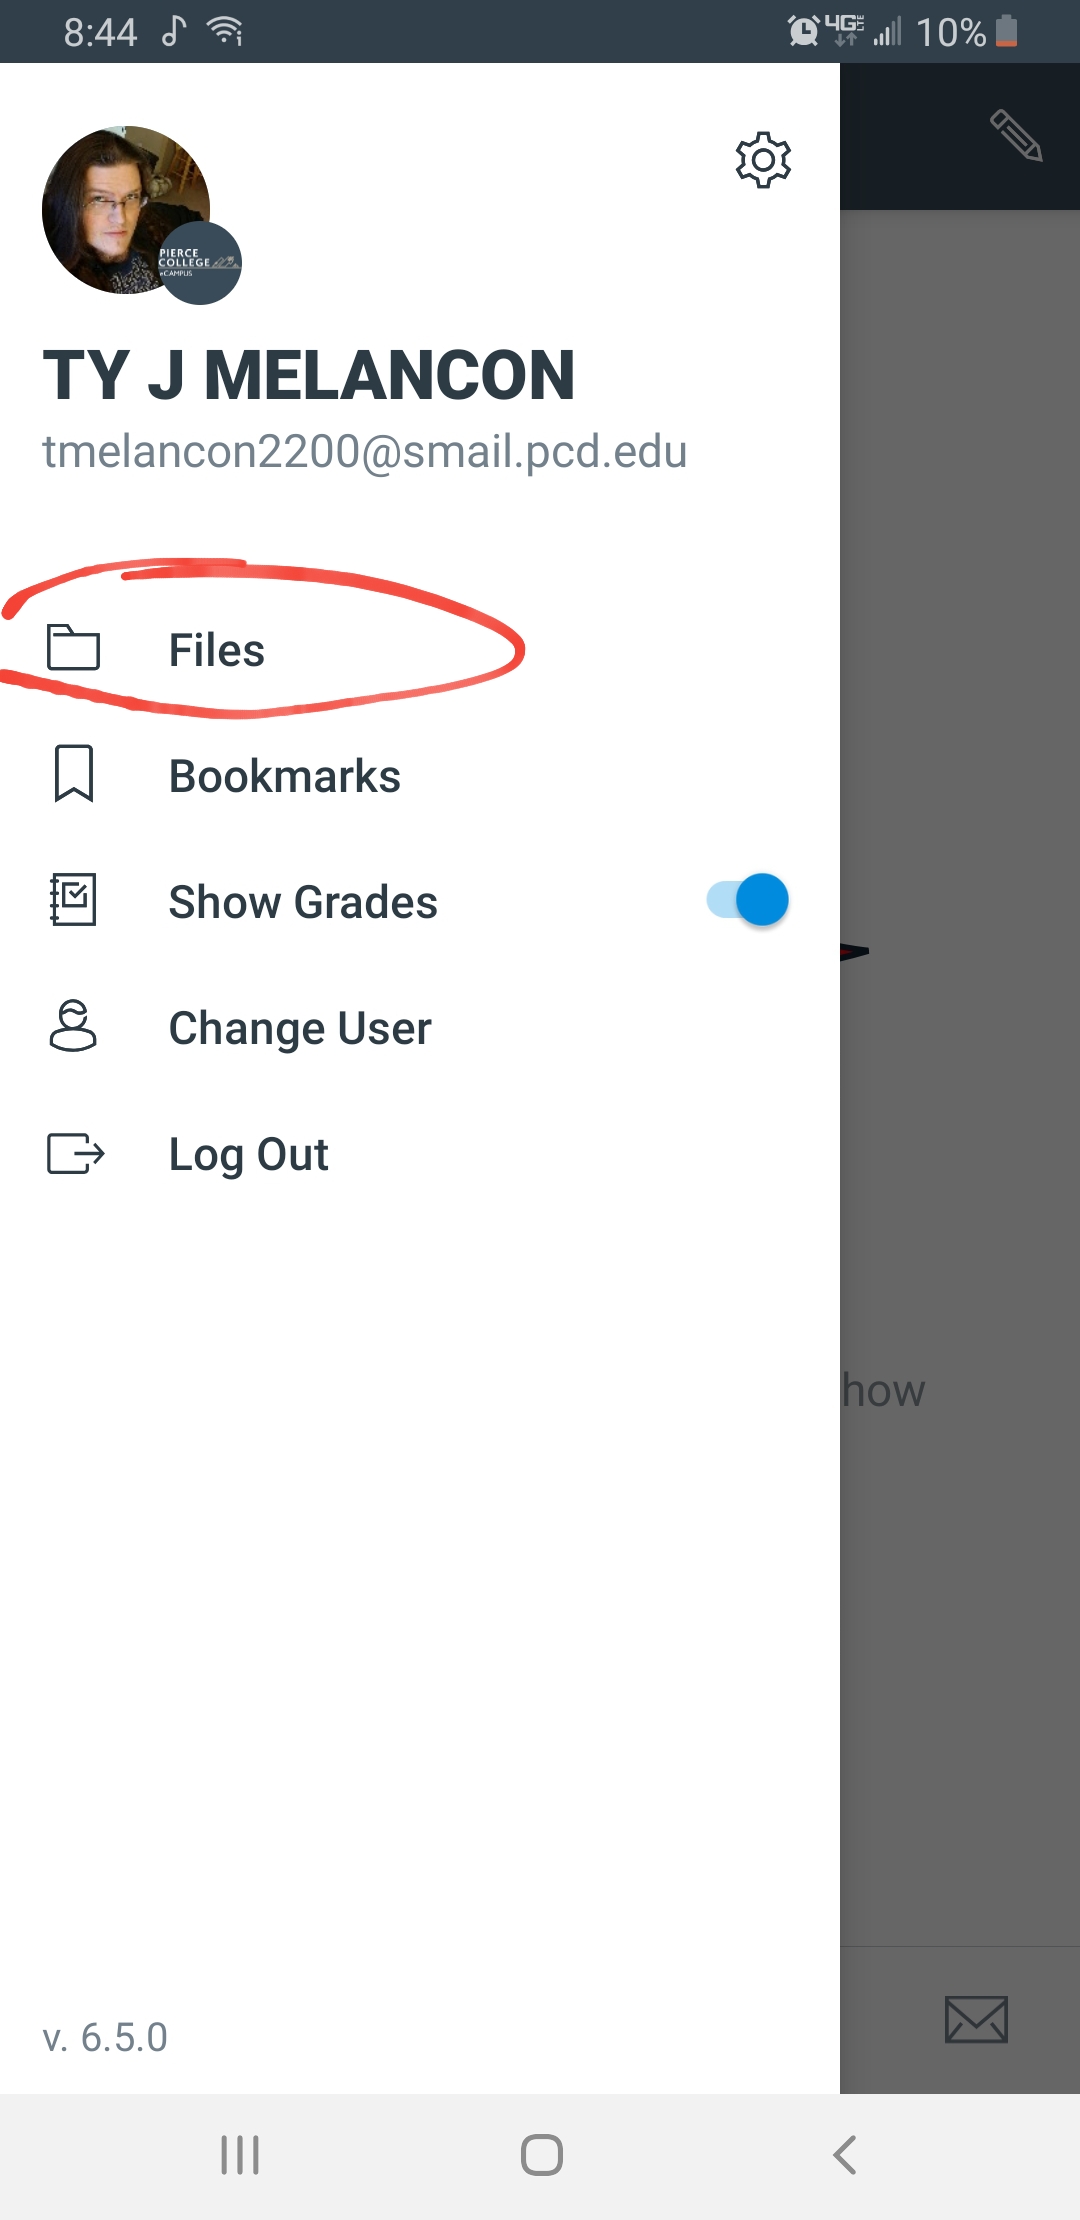
Now this will bring up a menu that has a number of choices. The one we are concerned with is the FILES tab. Select this tab by tapping it once with your finger.
This brings up the FILES storage. You can put new files in here or entire folders. You can also delete files. Note that turning in a file or folder does not delete it. So you could turn in the same file ten times and it would still be in the FILES storage.
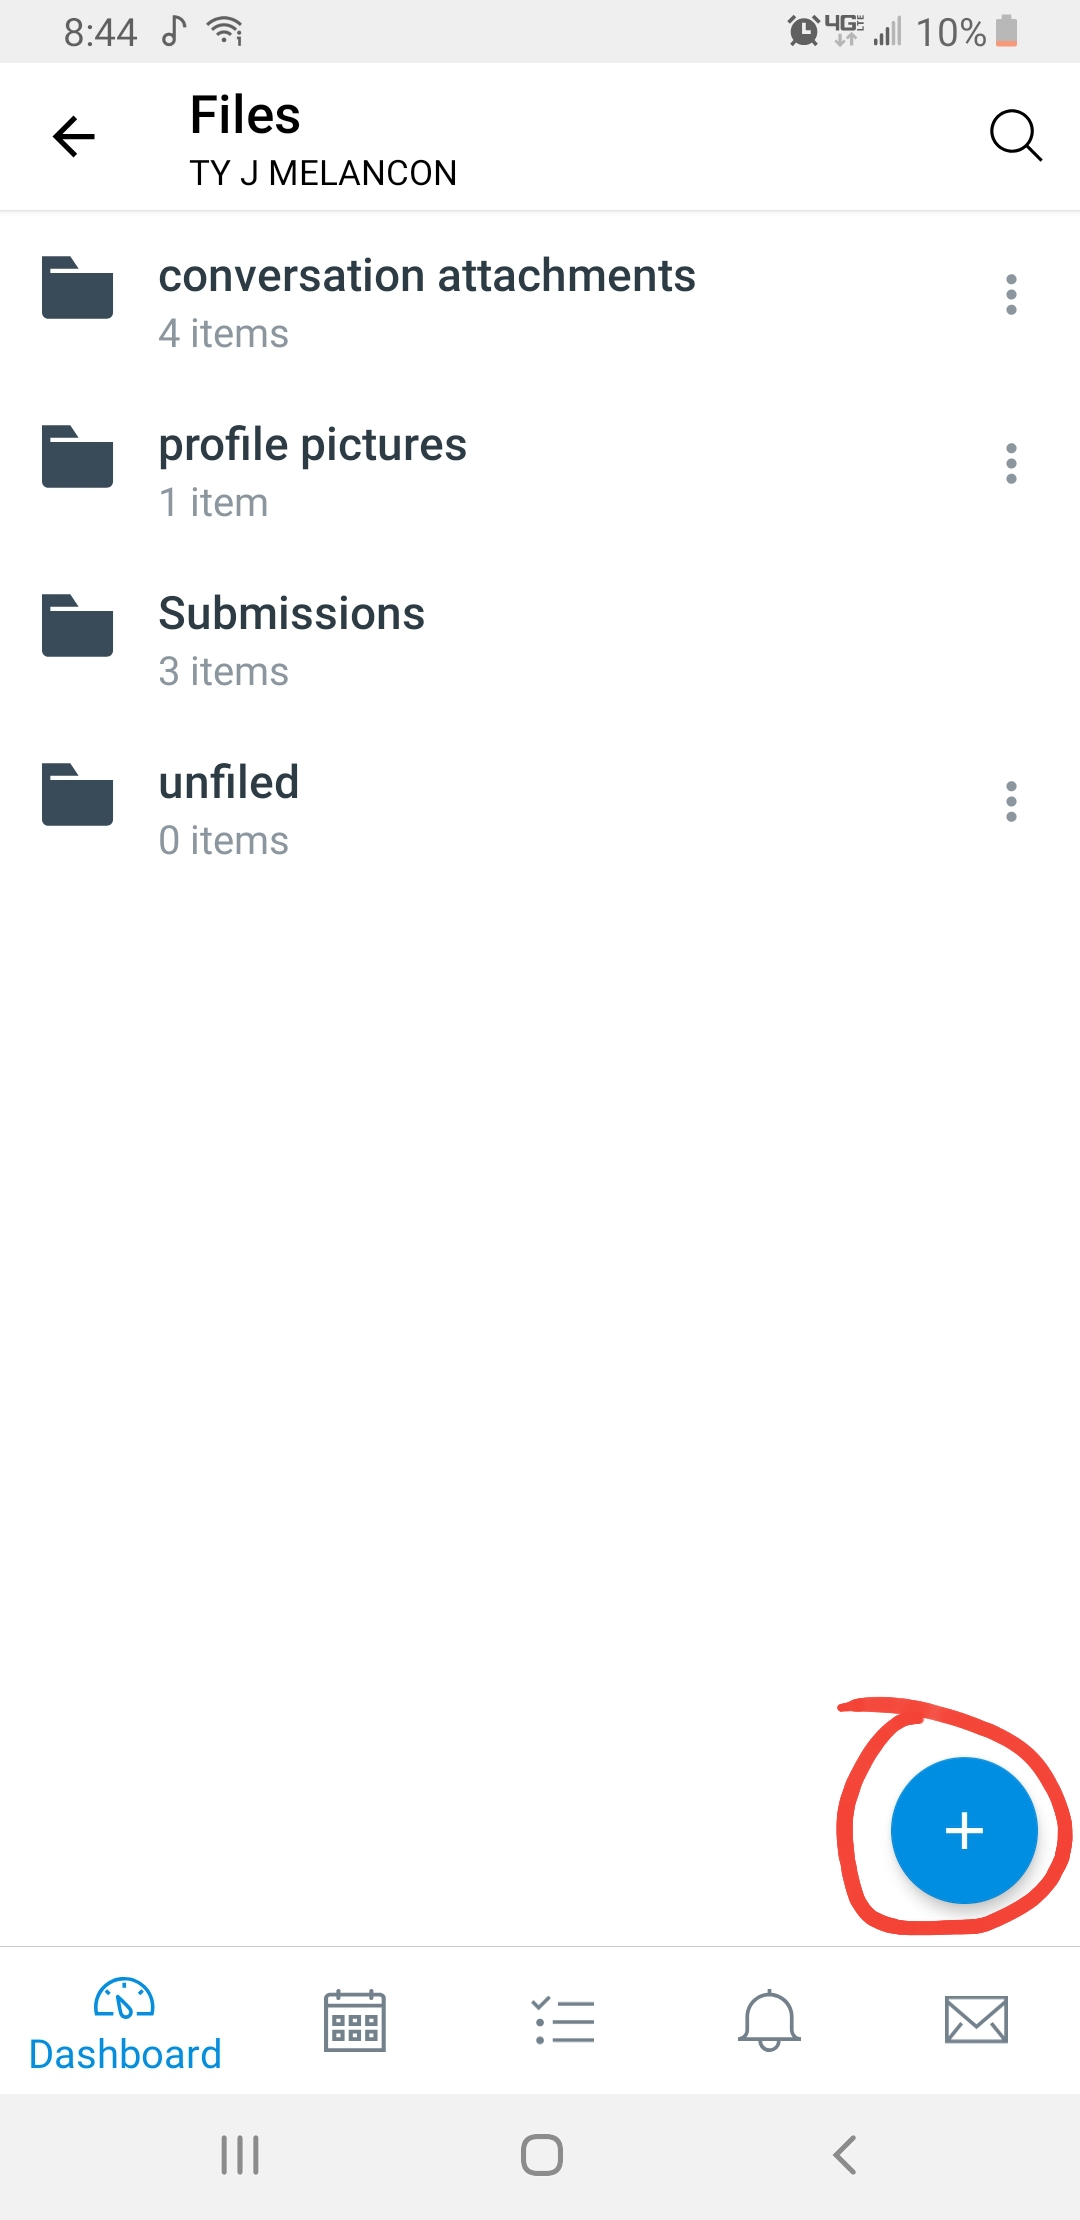
Now that you are in the FILES storage you can upload files to it. First, select the plus sign in the bottom right hand corner by tapping it once with your finger.
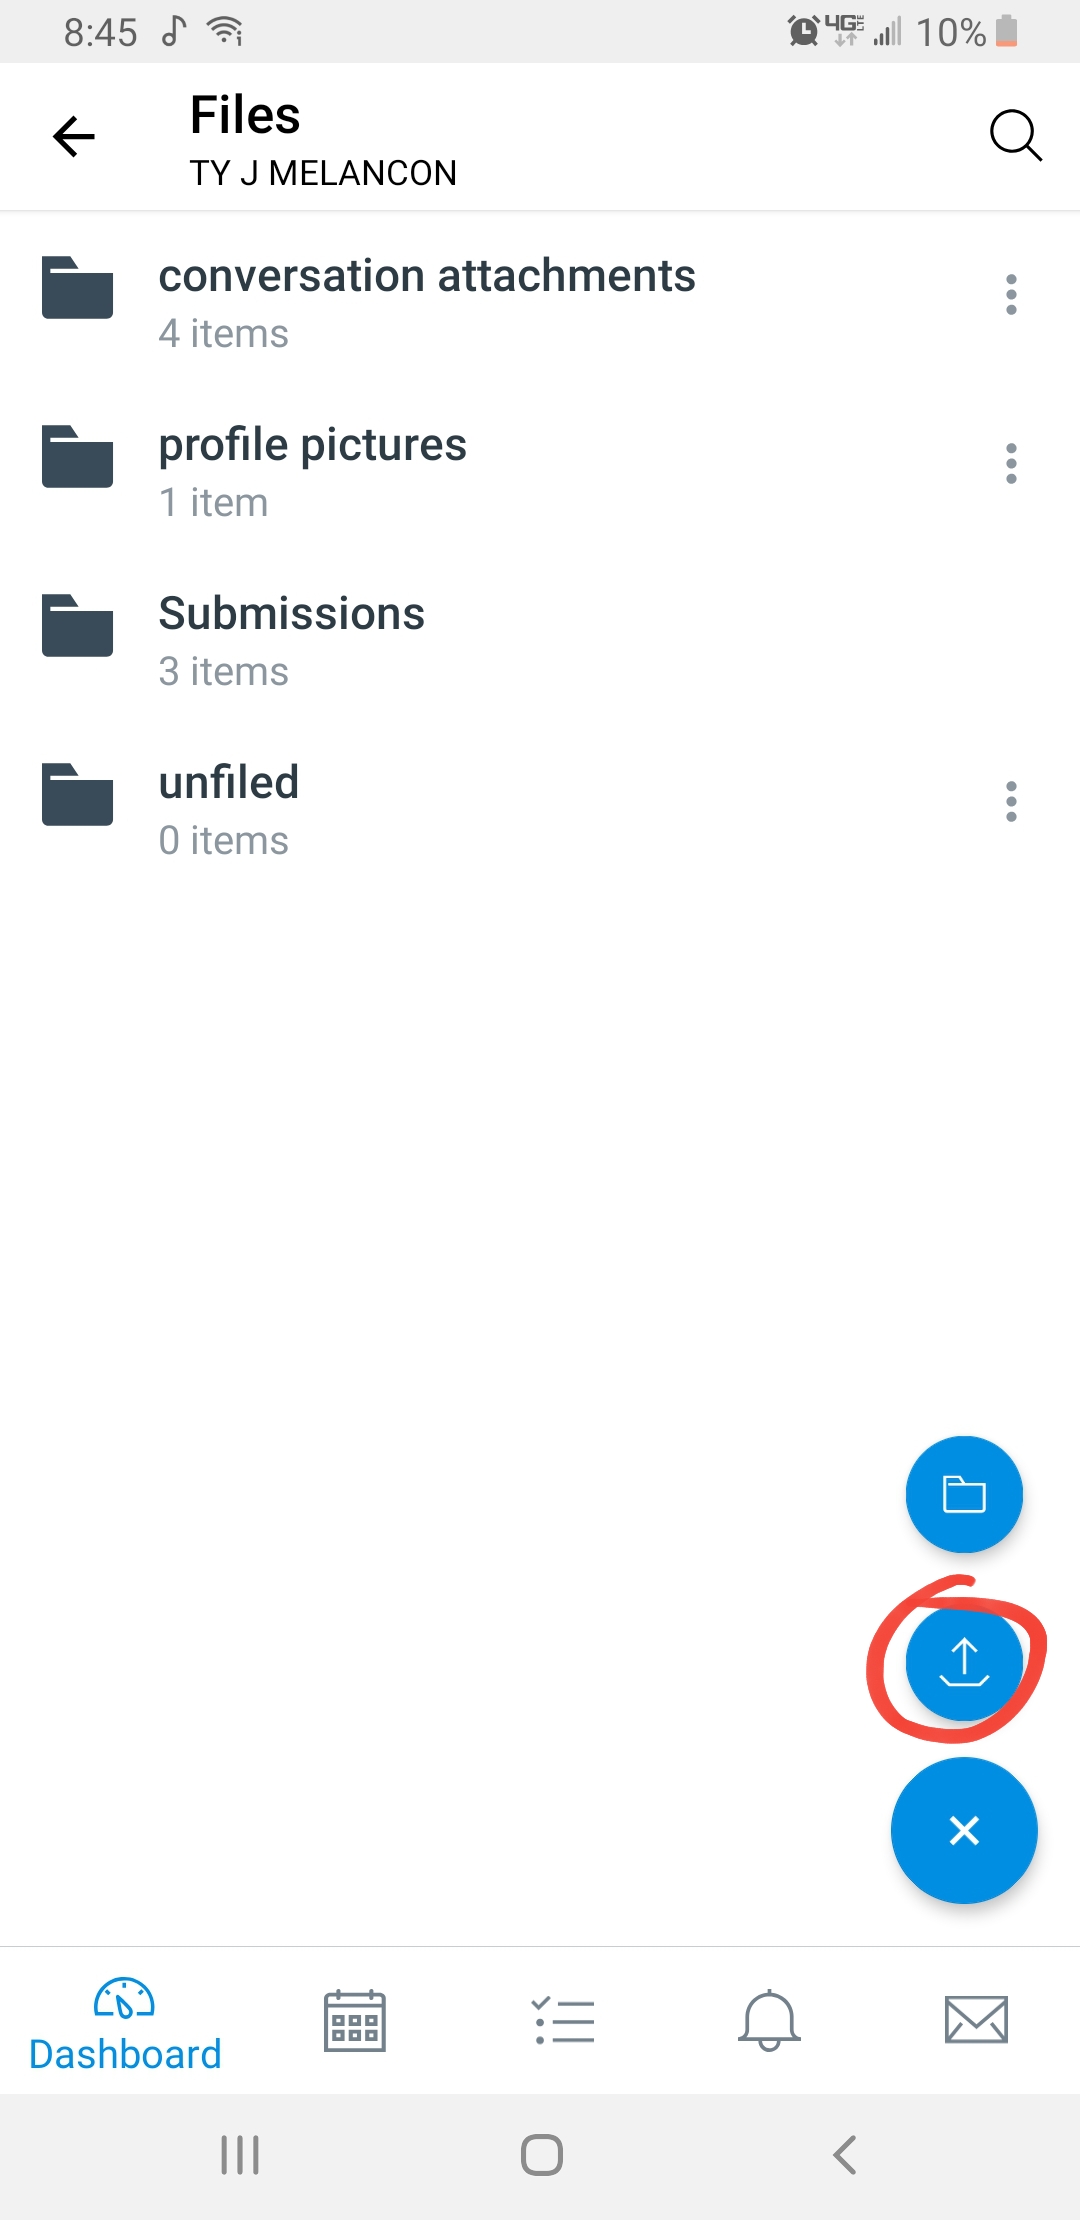
This will bring up two options. The first is a file looking icon. Selecting this will create a new folder to help with organization. However we are concerned with the second icon which looks like an arrow pointing upwards. This is the “upload” option and will allow us to search for the file we want to upload to the FILES storage area.
The three options given to us are, Camera, Gallery, and Device.
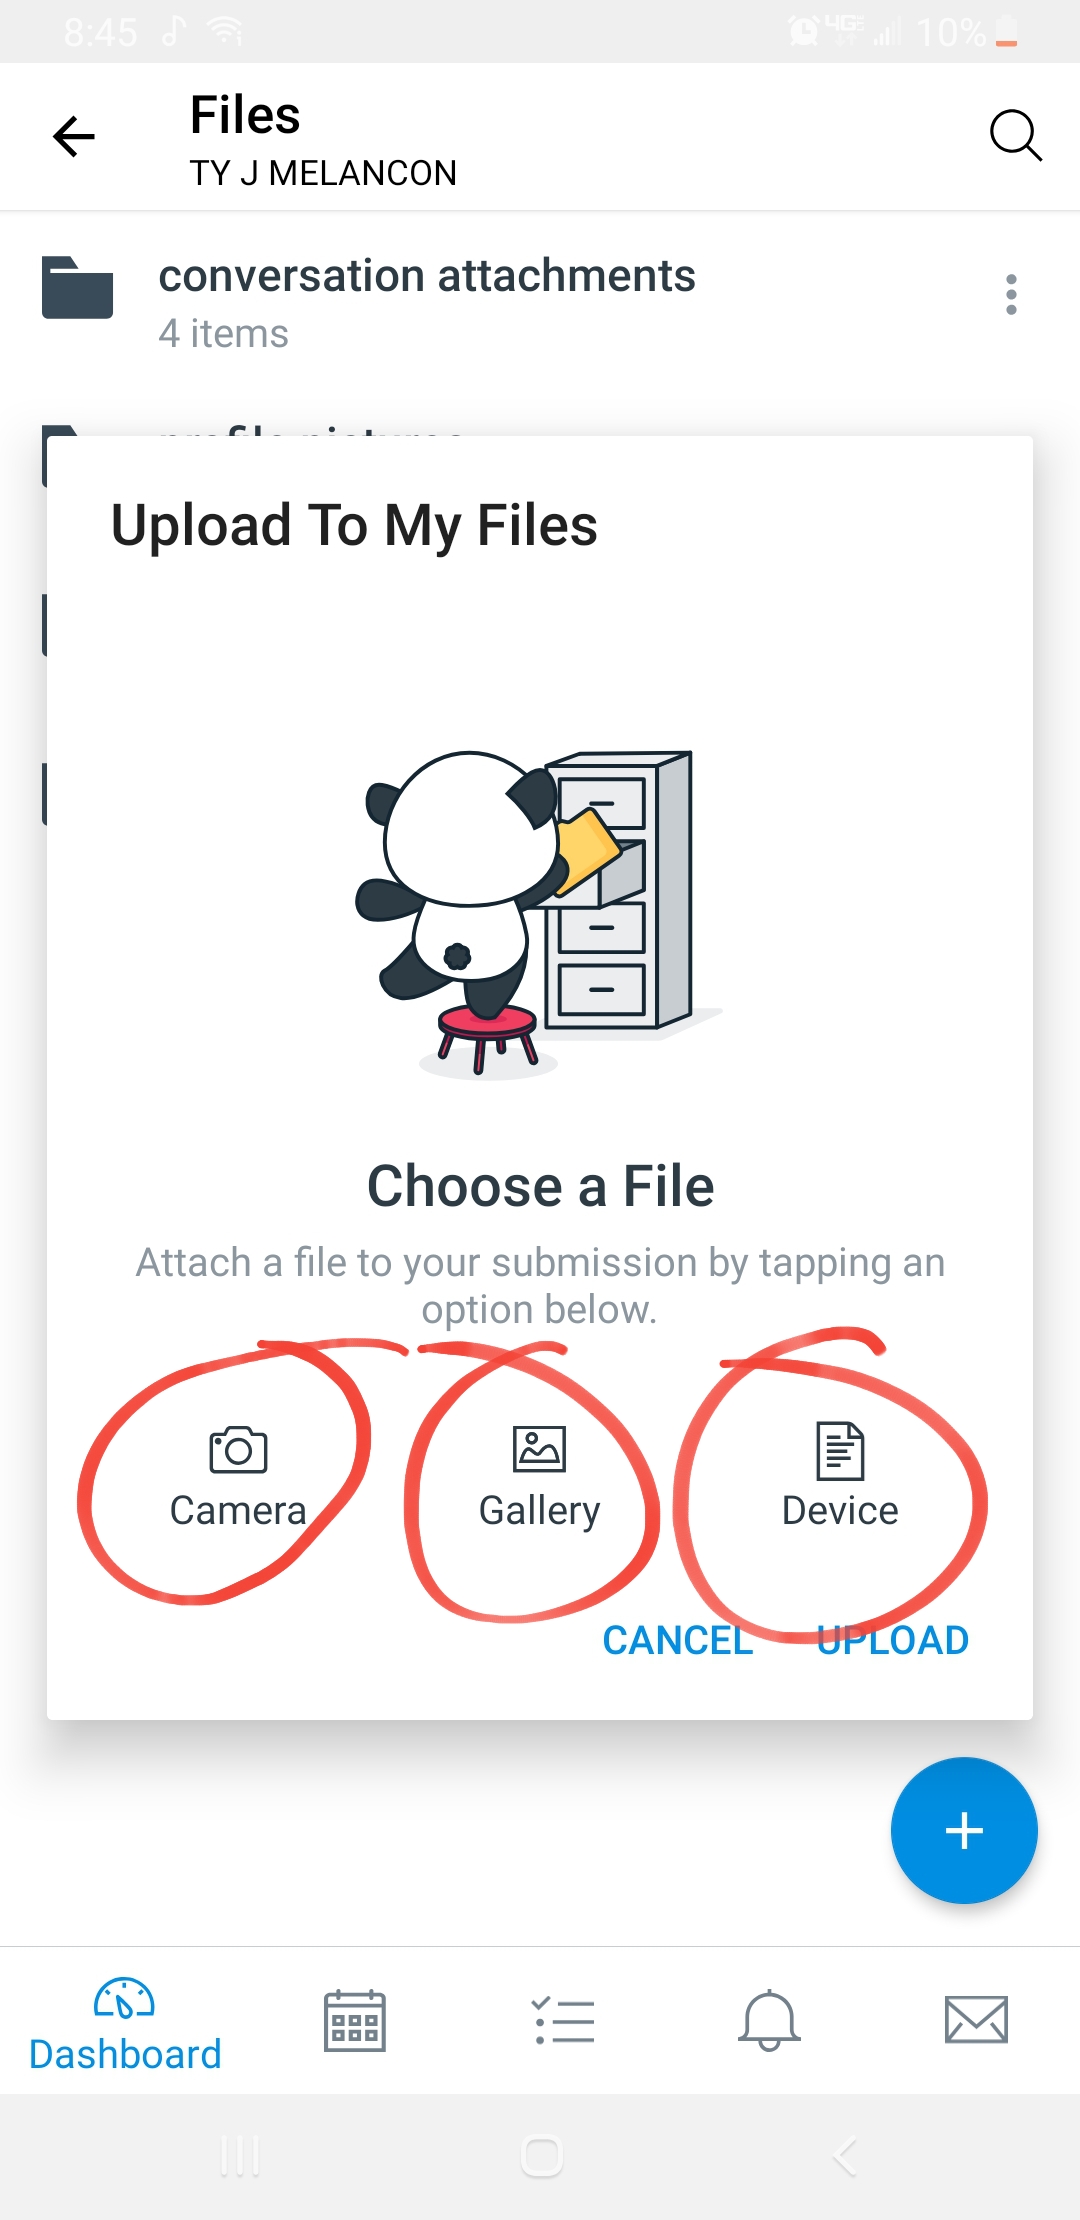
- Camera is for taking a picture of something
- Gallery allows you to look through your pictures already taken and select one or more
- Device allows you to search all the files and folders of your phone for a file or files.
At this point you can select the option that best works for you. In another tutorial we will go over how to pull files to your phone from Google Docs, Email, other desktops/laptops, or other cloud storage.
The idea is to consolidate all of your data to this storage area so that you can easily upload it.